
Creating stunning epoxy resin projects is easier than you might think, especially when you incorporate materials like dry pearl powders, metal flakes, or candy concentrates. These additives can transform your resin art, giving it depth, shimmer, and vibrant color. This beginner-friendly guide will walk you through each technique with simple, step-by-step instructions.
✨ What You’ll Need
- Clear epoxy resin (two-part system)
- Mixing cups and stir sticks
- Gloves and a dust mask
- Dry pearl powder
- Metal flakes (fine or coarse)
- Candy concentrate (resin-safe dye)
- Optional: molds, bezels, or flat surfaces for pouring
🌈 Using Dry Pearl Powder in Epoxy Resin
Dry pearl powders, like mica-based pigments, add a shimmering, metallic effect to your resin.
Steps:
- Prepare the Resin: Mix your epoxy resin according to the manufacturer’s instructions, ensuring a 1:1 ratio (or as specified). Stir slowly to minimize bubbles.
- Add Pearl Powder: Once mixed, add a small amount of pearl powder to the resin. Start with about 1/8 teaspoon per ounce of resin and adjust to achieve the desired opacity.
- Mix Thoroughly: Stir the powder into the resin until fully integrated. The resin should have a consistent shimmer throughout.
- Pour into Mold: Carefully pour the pigmented resin into your mold or onto your surface. Use a heat gun or torch to remove any surface bubbles.
- Cure: Allow the resin to cure as per the manufacturer’s guidelines, typically 24-72 hours.
Tip: For a layered effect, pour multiple colors in stages, allowing each layer to partially cure before adding the next.

✨ Incorporating Metal Flakes into Epoxy Resin
Metal flakes can add a sparkling, textured look to your resin projects.
Steps:
- Mix Resin: Prepare your epoxy resin as directed.
- Add Metal Flakes: Gently fold in the metal flakes. The amount depends on the desired effect, but start with a small quantity and add more as needed.
- Combine Thoroughly: Stir the flakes into the resin until evenly distributed.
- Pour Carefully: Pour the mixture into your mold or onto your surface. Use a stir stick to position flakes if necessary.
- Eliminate Bubbles: Use a heat gun or torch to remove any bubbles, being cautious not to disturb the flakes.
- Cure: Let the resin cure fully, following the manufacturer’s instructions.
Note: For a more pronounced effect, you can sprinkle additional flakes onto the surface after pouring.

🎨 Adding Candy Concentrate to Epoxy Resin
Candy concentrates are highly pigmented dyes that provide rich, translucent colors.
Steps:
- Prepare Resin: Mix your epoxy resin according to the manufacturer’s guidelines.
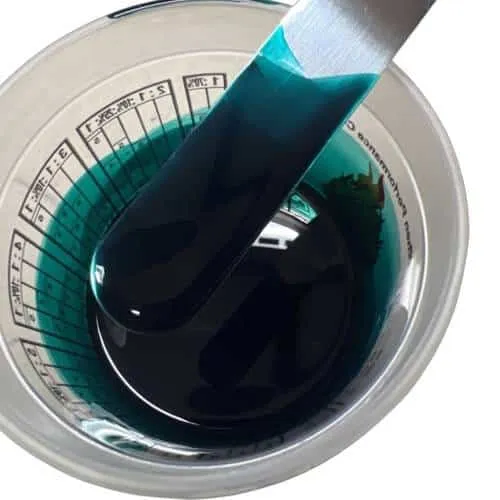
- Add Candy Concentrate: Introduce the candy concentrate to the resin. Start with a few drops per ounce of resin and adjust to achieve the desired color intensity.
- Mix Well: Stir the dye into the resin until the color is uniform.
- Pour: Carefully pour the colored resin into your mold or onto your surface.
- Remove Bubbles: Use a heat gun or torch to eliminate any surface bubbles.
- Cure: Allow the resin to cure completely, as per the manufacturer’s instructions.
Tip: For a layered appearance, pour multiple colors in stages, letting each layer partially cure before adding the next.
🛡️ Safety Tips
- Always work in a well-ventilated area.
- Wear gloves and a dust mask to protect your skin and lungs.
- Follow all safety instructions provided by the resin manufacturer.
With these techniques, you’re well on your way to creating beautiful, professional-looking epoxy resin projects. Experiment with different combinations to discover your unique style!
📚 Sources
- Beadaholique: How to Use Pearlizing Powder in Resin
- Resin Obsession: Resin Color Powder Tips
- Martinepoxy: How to Create Stunning Effects With Epoxy Flakes
Now Let’s Step Up Your Resin Game!
People Also Ask…
How Much Pigment Per Gallon of Epoxy?
This will depend on you (and your customer) desired outcome. Start by adding 16g per mixed gallon. You never want to exceed 20% of the weight of the mixed resin.
How much resin should I mix?
This depends upon the size of the project. Resin Guy has an easy to use epoxy resin calculator